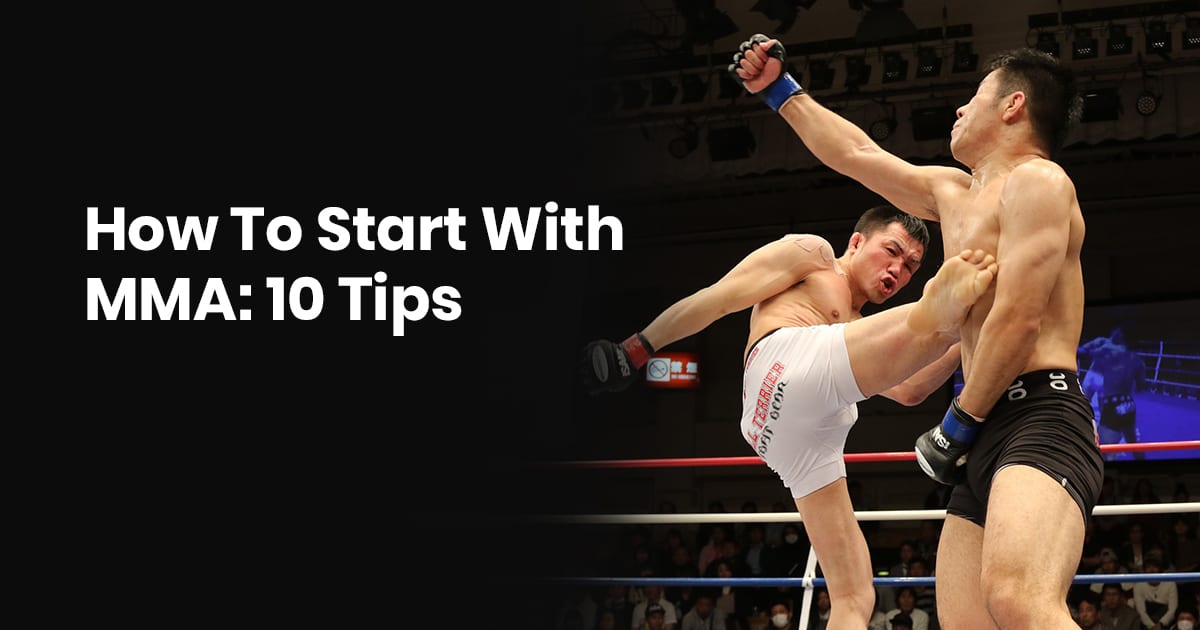
When playing sports, you wouldn’t have stepped onto a baseball field without a bat, or stepped onto a tennis court without shoes, so why would you consider suiting up to play a sport without fitting a mouthguard?
The truth is wearing a mouthguard while playing a sport like boxing protects your oral health and has a number of other advantages as well.
In case you didn’t know the importance of mouthguards, it’s to protect yourself and also protect your opponents. That’s why the best boxing mouthguards are essential.
When playing a sport such as boxing, a jab to the mouth can cause your teeth to cut into your lip, the insides of your mouth, your tongue, and possibly even dig into your opponent’s knuckles.
And lastly, you definitely don’t want someone’s teeth getting punched out.
So the question still remains, do mouthguards come in different sizes?
Yes, they are available in custom, as well as boil and bite styles.
In the following guide, we’ll take a look at the differences between these two specific types of mouthguards and the benefits of each type.
Contents
Do mouthguards come in sizes?
Mouthguards are available in two specific sizes, which also happens to be two different types.
The first kind is the custom fit mouthguard, and the second is the boil and bite mouthguard.
Custom-fit mouthguard
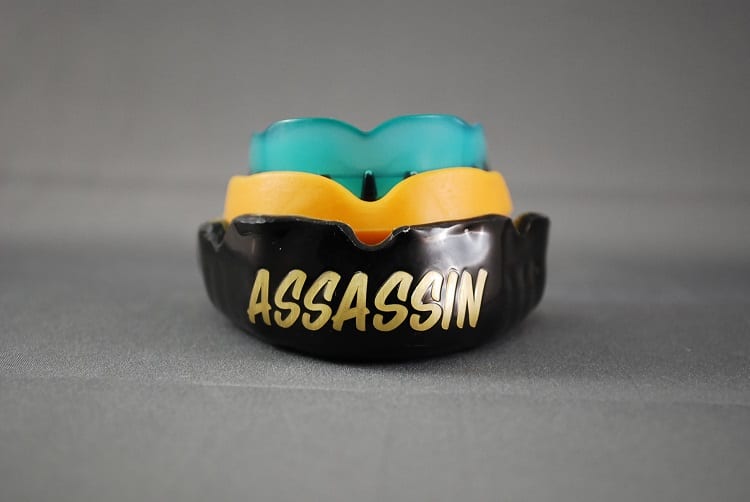
Custom-fit mouthguards provide the best protection and are still cheap too.
The device is specifically designed for your teeth, and you don’t need to go through the extra step of molding it to your teeth.
Having a custom mouthguard created means also making a mold of your teeth first.
This is then used by the specialist to deliver the mouthguard.
So what will happen is when you purchase the kit, it will contain everything that you need to create an exact copy of your teeth.
You then send it all back to the manufacturer and await your completed and custom-made markup.
Alternatively, you may choose to visit a dentist and have them create the mold for you.
Some dentists can even create the mouthguard for you.
Custom-made mouthguards have the following advantages and disadvantages.
Pros
- You receive an exact guard that’s tight enough so that you must remove it with your hand, and you can’t pull it off with your tongue.
- Breathing and speaking are also easier as compared to using a boil and bite mouthguard.
- It won’t fall out of place every time you get hit in the face
- It’s also one of the best and most recommended mouthguards for serious fighters
Cons
- Custom-made mouthguards offer better protection however it’s also significantly more expensive than the boil and bite mouthguard
- You may also potentially have to visit a dentist in order to have the mold made
- Since you must create a mold or have a mold made for you, it takes longer to receive than a boil and bite one
Boil and bite mouthguards
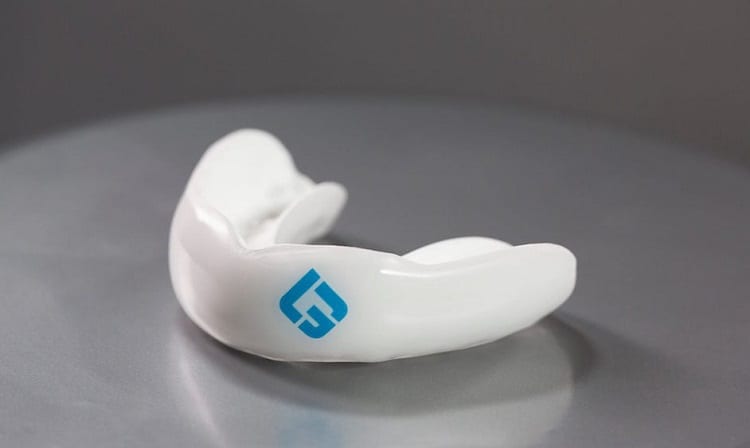
Boil and bite mouthguards are available in single and double options.
For those who enjoy a double mouthguard which covers the bottom row of teeth, this is recommended.
If you also enjoy having breathing holes in the center, then your only choice is the boil and bite.
Custom-fit ones don’t offer the double design, so this is an advantage that boil and bite have over the custom fit ones.
Boil and bite mouth guards are also more convenient as you could buy them from the store and have it in your mouth in a matter of 10 minutes.
With custom-fit ones, you need to make an appointment to have a mold created and then wait for the final mouthguard to be sent to you.
Boil and bite mouthguards are also considerably cheaper than custom-fit ones, and you can pick up one for approximately $25-$35, whereas you would invest $50-$150 on custom mouthguards.
Mouthguards are a crucial piece of equipment when playing contact sports such as soccer, basketball, and football.
Custom fitting a mouth guard against your teeth makes the experience of wearing it more comfortable and safe as well.
The entire process of putting it on and securing it doesn’t take more than a few seconds, and this is how you should go about doing it.
Step 1
Before putting on your mouthguard, you should gather the necessary materials.
Some of the material you will need include:
- Your mouthguard
- Enough boiling water to submerge the mouthguard
- A pair of scissors
- A bowl of ice water
- A towel
Step 2
Next, you should trim the mouthguard.
You may need to trim the ends just to be sure that it fits comfortably and doesn’t irritate the back of your mouth.
So put it in your mouth, so you know which bits are unnecessary.
When you place it in your mouth if you feel a pokey sensation at the back of your gum or any sensation that causes you to gag, cut some off using a pair of scissors.
A mouthguards main purpose is to protect your front teeth, which are more vulnerable. It’s not generally intended to protect your molars.
So you do have some space at the back as far as the mouthguard goes.
Many users actually prefer a shorter mouthguard that is more comfortable and covers the teeth as far as the first molars.
However, you should adjust or customize your mouthguard as it is comfortable for you.
Step 3
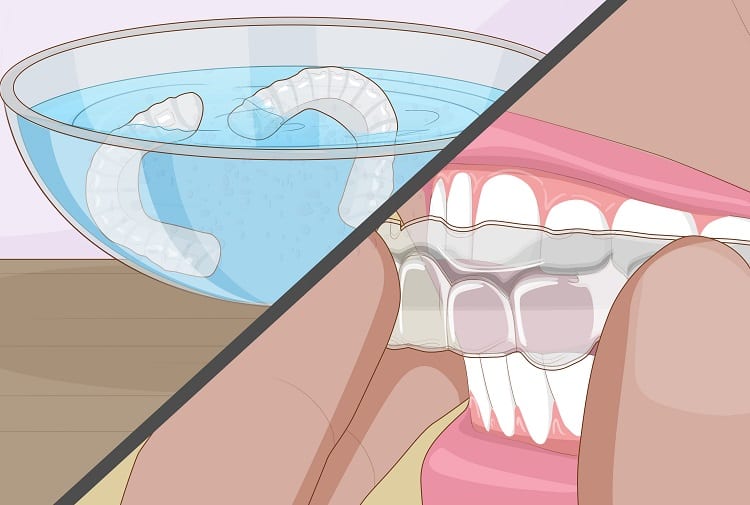
The next step involves placing the mouthguard in boiling water.
You need enough boiling water so that the entire mouthguard is immersed for between 30 to 60 seconds.
So to begin with, start a small pot of boiling water on the stove, or you can choose to boil it in the microwave.
Hold the mouthguard carefully by the end of the strap and then place it inside the water.
If it doesn’t have a strap or if you’ve mistakenly cut the strap off, you can just drop it in the water and retrieve it with a spoon later.
If you are using the mouthguard with braces in your mouth or any other dental prosthetics, then it is recommended that you only boil it for 30 seconds.
This is because you want the mouthguard to fit in your mouth appropriately but not stick into your braces, which ultimately can damage them.
Step 4
Step four involves removing the mouthguard carefully so that you don’t burn yourself.
Once you remove it from the boiling water, place it on the towel and get it into your mouth as soon as possible.
Once it’s in your mouth, adjust it against your upper teeth.
However, you should note that the mouthguard should not be uncomfortably hot.
Use your thumbs to push the mouthguard up and back against your molars.
Put pressure and get the impression of your teeth on the bottom of the guard and press the guard up against your top teeth.
This entire process should not take more than 14 or 20 seconds.
Remember not to chew the mouthguard or move it around in your mouth while you’re fixing it in.
Step 5
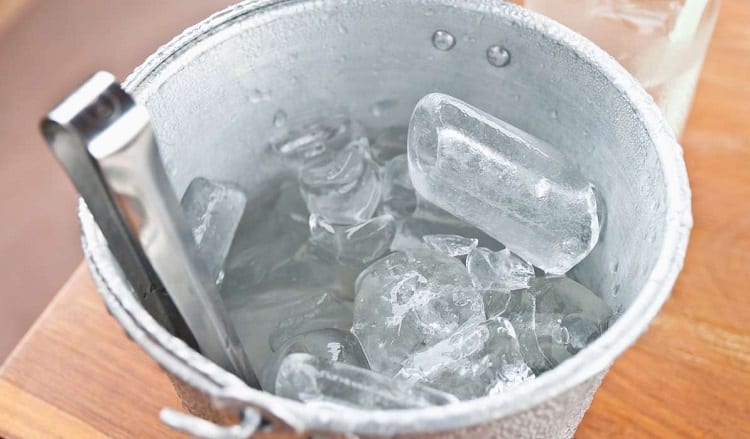
Step five involves placing the device in ice water.
Remove the mouthguard from your mouth and dunk it in ice water.
Thereafter, wait for it to cool and then try it on again.
It should fit snugly against the top teeth without you having to use your hands to hold it in place.
If the strap is still on your mouthguard, you can choose to remove it now.
If the mouthguard still doesn’t feel quite right, try it again until you achieve that proper fit.
What is the best material for mouthguards?
When it comes to mouthguards, not all materials are created equal.
During the 1960s, conventional mouthguards were made with ethylene-vinyl acetate, which is soft and caves under pressure.
This material is, in fact, elastomer polymer and is exceptionally soft, flexible, and rubber-like.
The main purpose is to cushion the force of impact before it gets to your teeth.
However, the problem with conventional mouthguards that are made from this material is that it is too soft and absorbs the entire force of impact.
Some of the force will travel to the teeth. Think of a bowling ball and a mattress.
When you drop a heavy object on a mattress, it will cave in and compress certain points.
The same happens to your teeth, and this impact is concentrated at that single point.
However, as of lately, more innovative materials have been used to create mouthguards.
Materials such as a non-compressible thermopolymer distribute the force of impact throughout the mouthguard before it travels to the teeth.
Therefore, it’s more unique and has an impact absorbing perforations.
Ultimately these zones absorb impact and direct the harmful force away from your teeth.
So mouthguards that are made from this material are properly fitted and absorb energy that ultimately saves your teeth.
So ultimately, it lowers the risk of dental injury.
Ultimately some of the advantages of this new material is that it is 10 times more resistant to deformation, it is the moldable, it stands up to 50% more impact than the traditional mouthguard, it works with braces and ultimately creates a custom fit that allows you to keep it in your mouth for the entire duration of the game.
Related Questions
Is a custom-fit mouthguard cheaper than a boil and bite one?
No, custom-fit mouthguards are more expensive than boil and bit ones.
If you need a mouthguard fast, which option should you choose?
If you’re looking for the quickest and cheapest option, then boil and bite are recommended.
You can purchase it from a store and have it in your mouth in a matter of 10 minutes.
What is the purpose of a mouthguard?
Mouthguards are created to protect your front teeth from being damaged while sparring.


